
What actually happens during a full fit?
We’ve all been there. You’re staring at an avocado-green bathroom suite that looked cutting-edge in 1982, or perhaps you’re looking at a dripping shower head that has slowly become your nemesis. The dream of a spa-like sanctuary is vivid, but the path to getting there? That’s often a bit foggy.
A full bathroom overhaul is one of the most rewarding home improvements you can make, both for your daily sanity and your property value. However, it’s not just a case of ripping out a toilet and plonking down a new one. It is a choreographed dance of demolition, plumbing, electricals, and finishing touches.
At ALK Emergency Plumbers, we spend a lot of time fixing “have-a-go-hero” disasters, but we also specialise in planned bathroom & wet room design and installation. To help you understand what you are signing up for, we have broken down the comprehensive bathroom installation process, warts and all.
Step 1: Initial planning and design phase
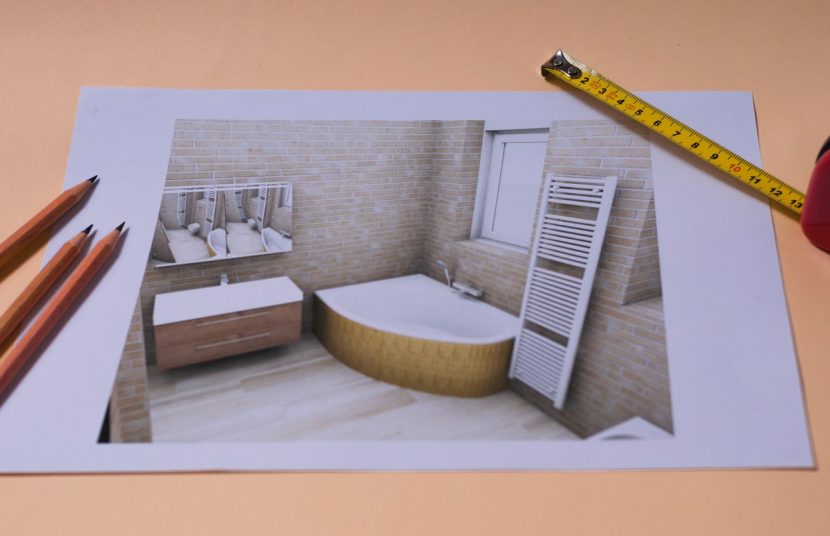
Before a sledgehammer is even lifted, the most critical work happens on paper (or a tablet). The planning phase is where dreams meet the harsh reality of plumbing logistics.
During an initial bathroom design consultation, measurements are everything. You might have your heart set on a freestanding clawfoot tub, but if your bathroom is the size of a postage stamp, we need to have a serious chat about spatial awareness. This stage involves mapping out where the soil pipe is, where the water feeds run, and whether moving the layout is feasible within your budget.
Speaking of budget, this is the time to be honest. A bathroom renovation is an investment, but costs can spiral if you change your mind halfway through. Deciding on your bathroom layout, fixtures, and finishes early prevents headaches later on.
Step 2: Demolition and removal
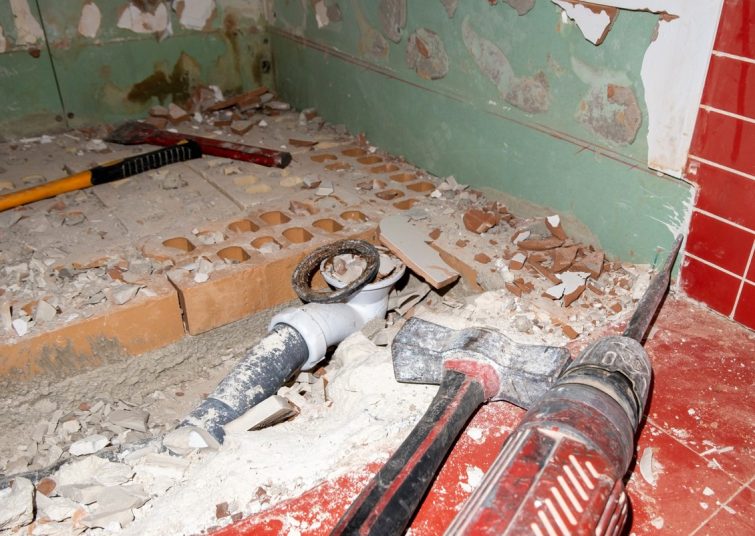
Now for the noisy part. Demolition—or “the rip out”—is satisfying but messy. It involves removing the old bathroom suite, chipping off tiles, and pulling up old flooring.
This stage is also where the skeletons in the closet (or rather, inside the walls) are revealed. We often uncover hidden leaks, rotten floorboards, or dodgy wiring from a previous owner.
A crucial note on safety: houses built before the year 2000 in the UK may contain asbestos in floor tiles, artex ceilings, or pipe lagging. If you suspect asbestos, everything stops until professional removal is arranged. We also ensure the water is definitely turned off before the crowbars come out—nobody wants an indoor swimming pool on day one.
Step 3: Plumbing and electrical work
Once the room is a blank canvas, the “first fix” begins. This is the stage where the room looks its worst, but the most important work is happening.
Rerouting the pipework
If you are keeping the layout exactly the same, this might just involve updating old copper pipes or waste traps. However, if that new shower is moving to the opposite wall, we need to chase out channels in the wall and run new hot and cold feeds. The soil pipe (the big one for the toilet) is the trickiest to move, so getting this right is paramount.
As specialised gas safety and registered plumbers, ALK Emergency Plumbers ensures that all pipework is pressure tested. There is no point in having beautiful tiles if a pipe is weeping water behind them.
Sparking joy (and light)
Electrical work usually happens alongside the plumbing. In the UK, bathrooms are divided into “zones” for electrical safety (Part P of the Building Regulations). You can’t just stick a standard socket next to the bath.
Cables need to be run for:
- Electric showers
- Extractor fans
- Shaver sockets
- IP-rated ceiling lights (downlights are a popular choice)
Always use a qualified electrician for this. Electricity and water are a terrible combination, and bad wiring is a genuine hazard.
Step 4: Floor tiles
With the pipes and wires exactly where they need to be, we move on to preparing the surfaces.
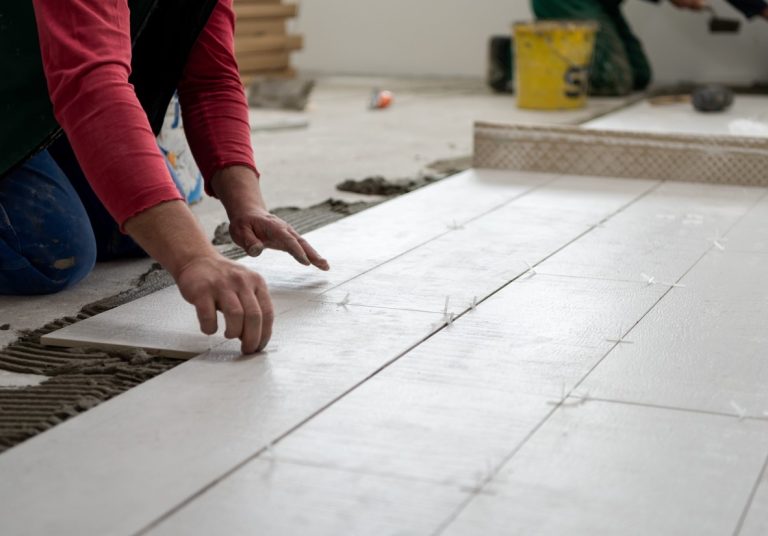
Before a single tile is laid, we often talk about “tanking”. This is a waterproofing process that seals the walls and floor, creating a watertight barrier behind the floor and wall tiles. In a wet room, this is mandatory, but we recommend it for any shower enclosure area. It stops water from seeping through grout lines and rotting the stud work or annoying the neighbours downstairs.
Once the substrate is secure, the tiling begins. This is a slow, methodical process. Whether you have chosen large-format porcelain, underfloor heating or intricate mosaics, getting the lines straight and the cuts clean is what separates a DIY job from a professional finish.
Step 5: Fixture installation
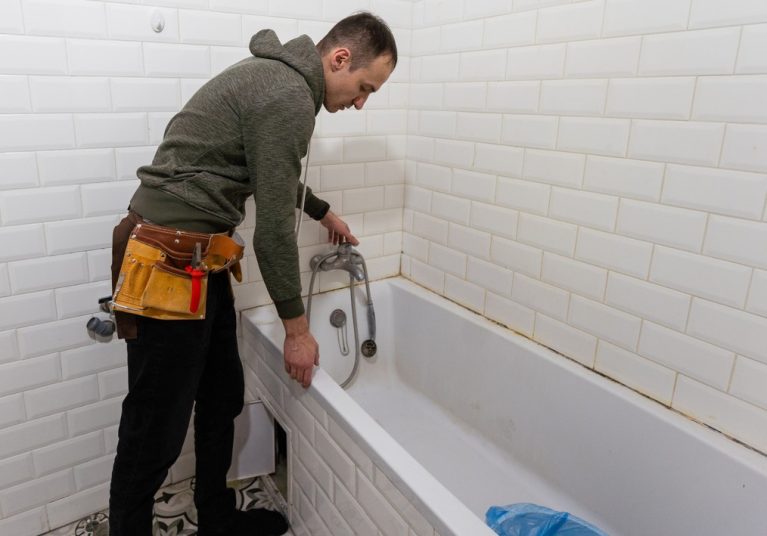
This is the “second fix”—the moment the room starts to look like a bathroom again.
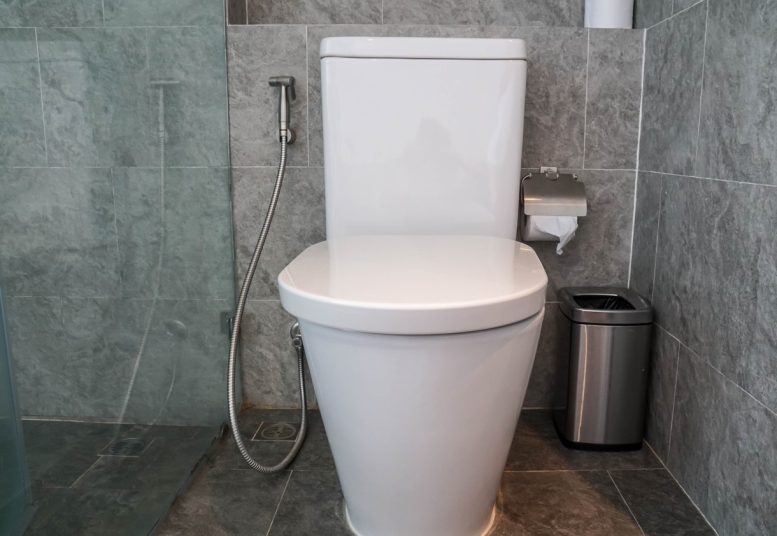
We install the toilet (pan and cistern), the basin/vanity unit, the bath, and the shower valve. This requires a delicate touch; tightening a nut too hard can crack expensive porcelain, while leaving it too loose guarantees a leak.
Custom installations, like wall-hung toilets with concealed cisterns, happen here. These look sleek but require robust frames installed back during the first fix stage. We also connect the taps and ensure the waste water actually flows away (gravity is our friend here).
Step 6: Finishing touches
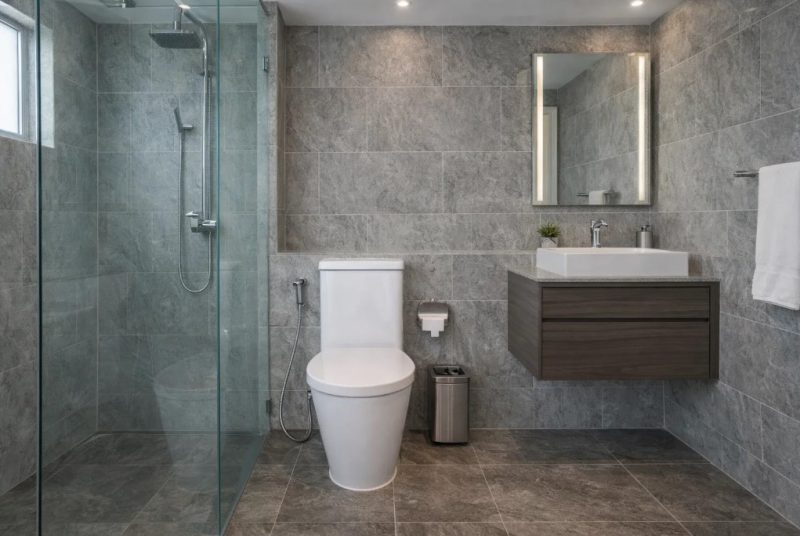
The end is in sight. The main components are in, but the devil is in the details.
- Silicone sealing: A crisp, mildew-resistant silicone bead around the bath and shower tray is essential for waterproofing and aesthetics.
- Grouted lines: Sealing the gaps between tiles.
- Painting: Using moisture-resistant paint for any non-tiled walls.
- Accessories: Fitting toilet roll holders, towel radiators, and mirrors.
We also double-check the ventilation. A high-quality extractor fan is vital for removing humid air and preventing mould growth—a common plague in British bathrooms.
Potential delays and issues with the bathroom installation process
In an ideal world, a bathroom renovation takes 5–10 days. But in the real world, things happen.
- Materials: That specific Italian marble tile you ordered might be stuck in customs.
- The “Can of Worms”: As mentioned, uncovering dry rot or unsafe joists during demolition can add days to the timeline while structural repairs are made.
- Drying times: You can’t grout tiles until the adhesive is dry. You can’t paint until plaster is dry. Rushing these steps ruins the finish.
DIY vs. professional bathroom installation
We get it. You’ve watched a few videos online, bought a spirit level, and you feel ready to tackle the bathroom fit guide yourself.
If you are handy, you might manage the painting or the demolition. But for the core work—plumbing, tiling, and electrics—the risks are high. A small leak under a bath might not be noticed for months, by which time it has brought down the kitchen ceiling below.
Professional installers (like us) have the tools, the insurance, and the experience to handle the unexpected. We know the difference between a compression joint and a solder ring, and we know exactly how much fall a waste pipe needs.
FAQ section
How long does a full bathroom renovation take?
Typically, a full rip-out and refit takes between 5 and 10 working days, depending on the size of the room and whether walls or pipes are being moved.
In what order should you renovate a bathroom?
The general bathroom renovation steps are: Design > Demolition > First fix plumbing/electrics > Wall/Floor prep (plastering/boarding) > Tiling > Second fix (installing toilets/sinks) > Finishing touches.
Do I need planning permission for a new bathroom?
Usually, no. Unless you are in a listed building or adding a new window to the side of the house, you generally don’t need planning permission. However, you must comply with Building Regulations regarding ventilation, drainage, and electrical safety.
Can I stay in my house during the renovation?
Yes, but expect some disruption. If it is your only bathroom, you will need to make arrangements for toilet and shower access. We always try to ensure you have at least a working toilet at the end of each day where possible.
Conclusion
Renovating a bathroom is a journey that takes you from the dusty depths of demolition to the shiny heights of a chrome finish. It involves coordinating multiple trades and navigating a few hurdles along the way. But when you step into that hot shower for the first time, you will know it was worth it.
While it is tempting to try and cut costs with a DIY approach, the peace of mind that comes with a professional installation is priceless. Whether you are planning a luxury wet room or just need to update a tired family bathroom, expert help ensures your renovation stands the test of time.
If you are ready to start planning your perfect bathroom, or if you just need a reliable team to handle the tricky plumbing, we are here to help.
Don’t leave your bathroom to chance. Contact ALK Emergency Plumbers today for a free quote on your bathroom installation or for any urgent plumbing needs.