Dripping taps can be frustrating to deal with. However, it’s not something that requires a lot of work to repair and can easily be done at home on your own with just a few tools and a bit of knowledge.
That being said, it’s still good to mention that if you’re unfamiliar with DIY repairs or don’t want to risk potentially damaging something, it’s best to call a plumber to seek professional advice before setting to work on your leaking taps.
Tools you’ll need to Fix a Dripping Tap
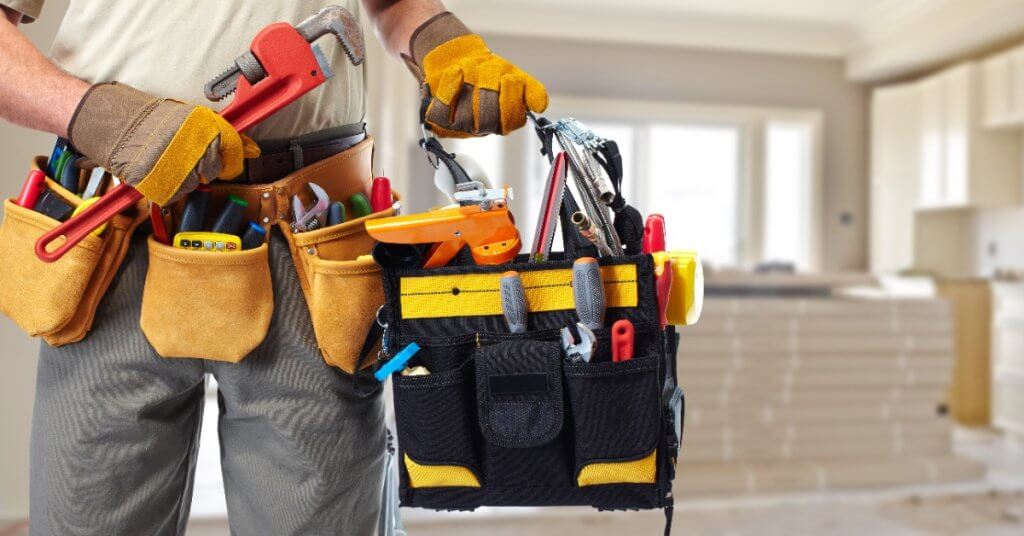 To fix a dripping tap, you will need the following tools:
- Adjustable wrench or spanner: This tool is essential for loosening and tightening the nuts and bolts on the tap.
- Flat head screwdriver: You may need a screwdriver to remove the handle or cover of the tap.
- Pliers: Pliers can be useful for gripping and turning small parts like washers or cartridges.
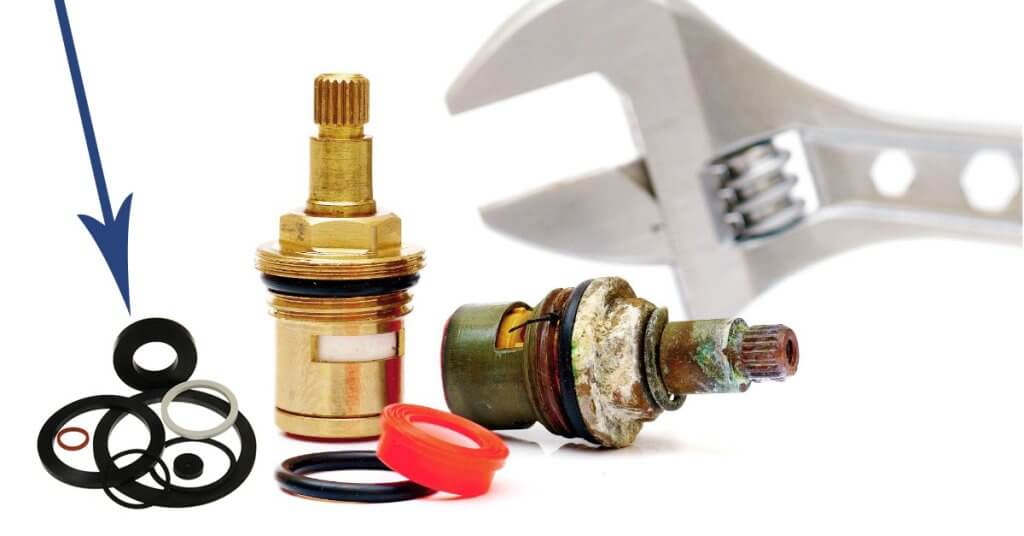
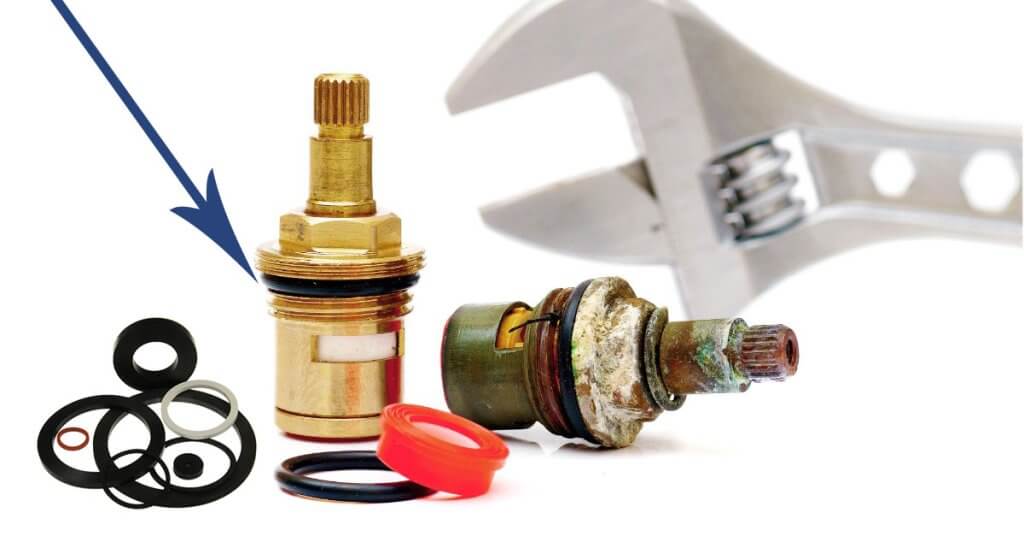
- Replacement parts: Depending on the type of tap, you may need to replace washers, O-rings, the tap seat, cartridges, or other internal components. Make sure to have the appropriate replacements on hand.
- Allen wrench or hex key set: If your tap has hexagonal screws, you will need an Allen wrench or hex key set to loosen or tighten them.
- Plumbers tape: Also known as Teflon tape, plumbers tape helps create a watertight seal when reconnecting pipes or fittings.
- Cleaning materials: It’s a good idea to have some rags, sponges, and cleaning solution on hand to clean any dirty parts or surfaces.
- Bucket or container: To catch any water that may leak while you’re working, keep a bucket or container nearby.
- Safety gloves and goggles: Although not directly related to the task, it’s always a good idea to protect your hands and eyes while working with tools and plumbing fixtures.
Remember, different types of taps may require specific tools or additional steps, especially if you are carrying out work on a mixer tap instead of independent hot and cold taps. Consulting a professional or referring to manufacturer instructions can provide more accurate guidance.
Accessing and Removing the Tap Head
 Step 1: Shut off the water supply
Look under the kitchen sink to see if there are valves to shut off the water supply. If the dripping tap isn’t in the kitchen, then look for a way to shut off the water supply to the entire room.
If you’re unable to locate the valve, then you may need to cut the water supply to your entire home instead. If you still can’t find it, it may be best to ask a friend with plumbing experience or to look around your home.
If the pipes are exposed and visible, following them may reveal where the valve is. Some valves need to be turned with a screwdriver while others can be turned by hand.
Step 2: Remove the tap head
Removing the tap head will be different depending on what type of tap it is.
Some taps need to be pried open with a flathead screwdriver while others will require you to remove a cap (sometimes the hot or cold indicator) with a wrench or even just your fingers.
Once this cap has been removed, it will reveal a hidden grub screw that can be unscrewed to gain access to the tap.
Step 3: Organise the parts you remove
To prevent yourself from losing any of the parts, we’d recommend putting them aside in a small box so that nothing gets lost.
You may also want to give them a clean if possible because they may contain lots of different gunk or dirt that has accumulated over many years of use.
Once organised, we can move on to the next step.
Next steps
The previous three steps are designed to help you access and open your tap. Next, we’ll be talking about the different types of components that you may encounter and how to replace them in order to fix your dripping tap.
Ceramic Disc Valve
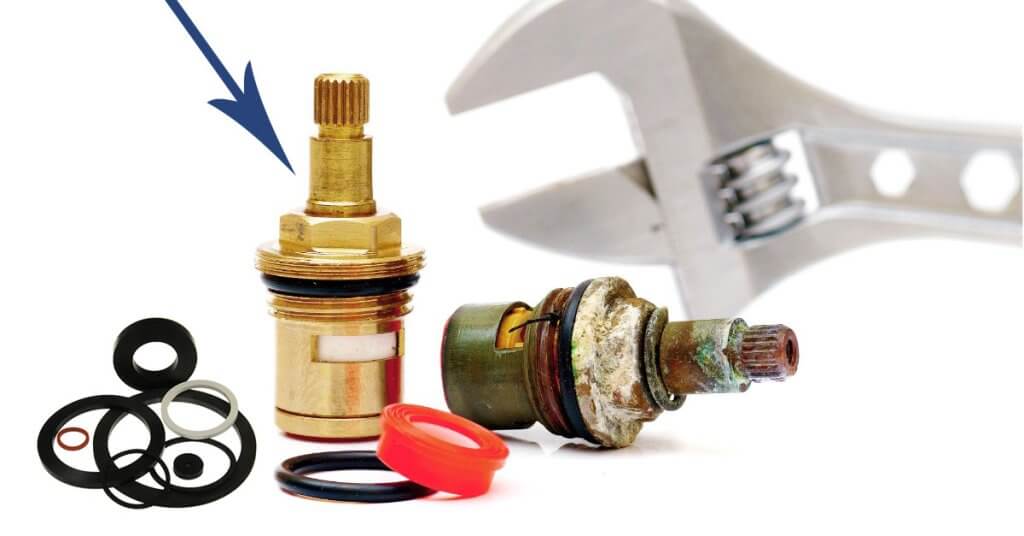 Ceramic discs are sturdy and designed to help stop leakages. Unfortunately, they can fail after a long period of time and repeated use.
Step 1: Open the tap
Remove the cap that you located in the first part of this article then use a screwdriver to unscrew and release the handle itself.
This will open up the tap and give you access to the valve cover.
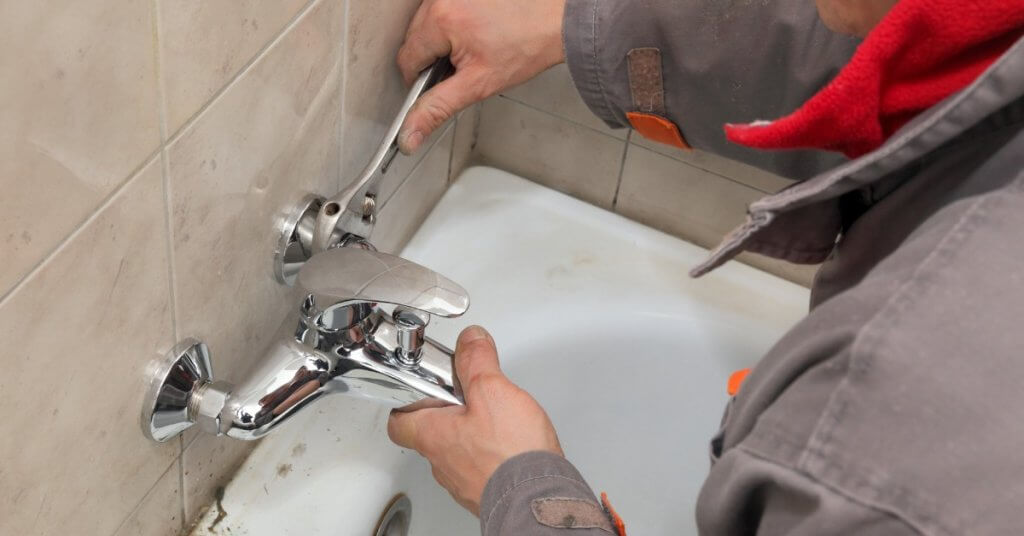
Step 2: Removing the valve cover
You’ll need to use an adjustable spanner or a wrench to remove the existing valve cover.
This is usually one of the main causes of a dripping tap and this part can easily be replaced with a newer piece.
Step 3: Reassemble
If you followed step 3 in the first section then you’ll probably have everything on the side cleaned and ready to be assembled back into a full tap.
Follow the reverse order of how you disassembled the tap and you’ll be left with a fully-working tap that does not drip or leak.
Repeat the same for the other tap (if applicable) and you’re good to go.
Rubber Washers
 A rubber tap washer acts to prevent water from your tap leaking around it. Replacing a rubber washer is easy and there aren’t many extra steps involved.
Step 1: Open the tap and remove the handle
As with the ceramic disc valve, you need to find out how to open the tap.
Using the steps from the first section you should end up prying open the cap and revealing a screw that can be turned in order to remove the entire tap head.
Step 2: Remove the valve
Use an adjustable spanner or a wrench to remove the valve from the tap. This will usually require a lot of force and they can become stuck.
However, once you’ve made the initial turn, it should become easier to remove from the housing.
Step 3: Remove the washer and replace
The black plastic piece on the base of the valve is the rubber washer that we’re looking to replace.
If this wears out or is damaged under heavy use, then it can be the cause of a leak because it’s not stopping any water.
Make sure the rubber washers you purchase fit snugly in the valve so that you reduce the risk of further leaks.
Step 4: Reassemble
Reverse these steps in order to successfully reassemble the tap that should now be free of leaks.
Spout O-Ring
 Occasionally, the valve o-ring in the tap spout itself needs to be replaced to prevent a leakage.
This is similar to replacing the rubber washer on the previous section by the location of it is different.
Step 1: Remove the spout from the base of the tap
This will usually be done in a number of different ways, but it’s common to just remove a screw at the base and back of the spout.
Once done, it’s simply a matter of twisting it to release the spout from its tap.
Step 2: Pry off the o-ring
Once you have revealed the inside of the spout, you’ll immediately see the black spout o-ring. It might be necessary to actually use a screwdriver or another thin instrument in order to pry the o-ring off.
Step 3: Replace the o-ring
Make sure your replacement o ring is the same size and fits properly around the base of the spout.
Step 4: Reassemble
Once the o-ring is in place, you now can screw the spout back onto the base of the tap and you should hopefully be free of a leaky tap once again.